Self-hosted music library with Navidrome
Introduction
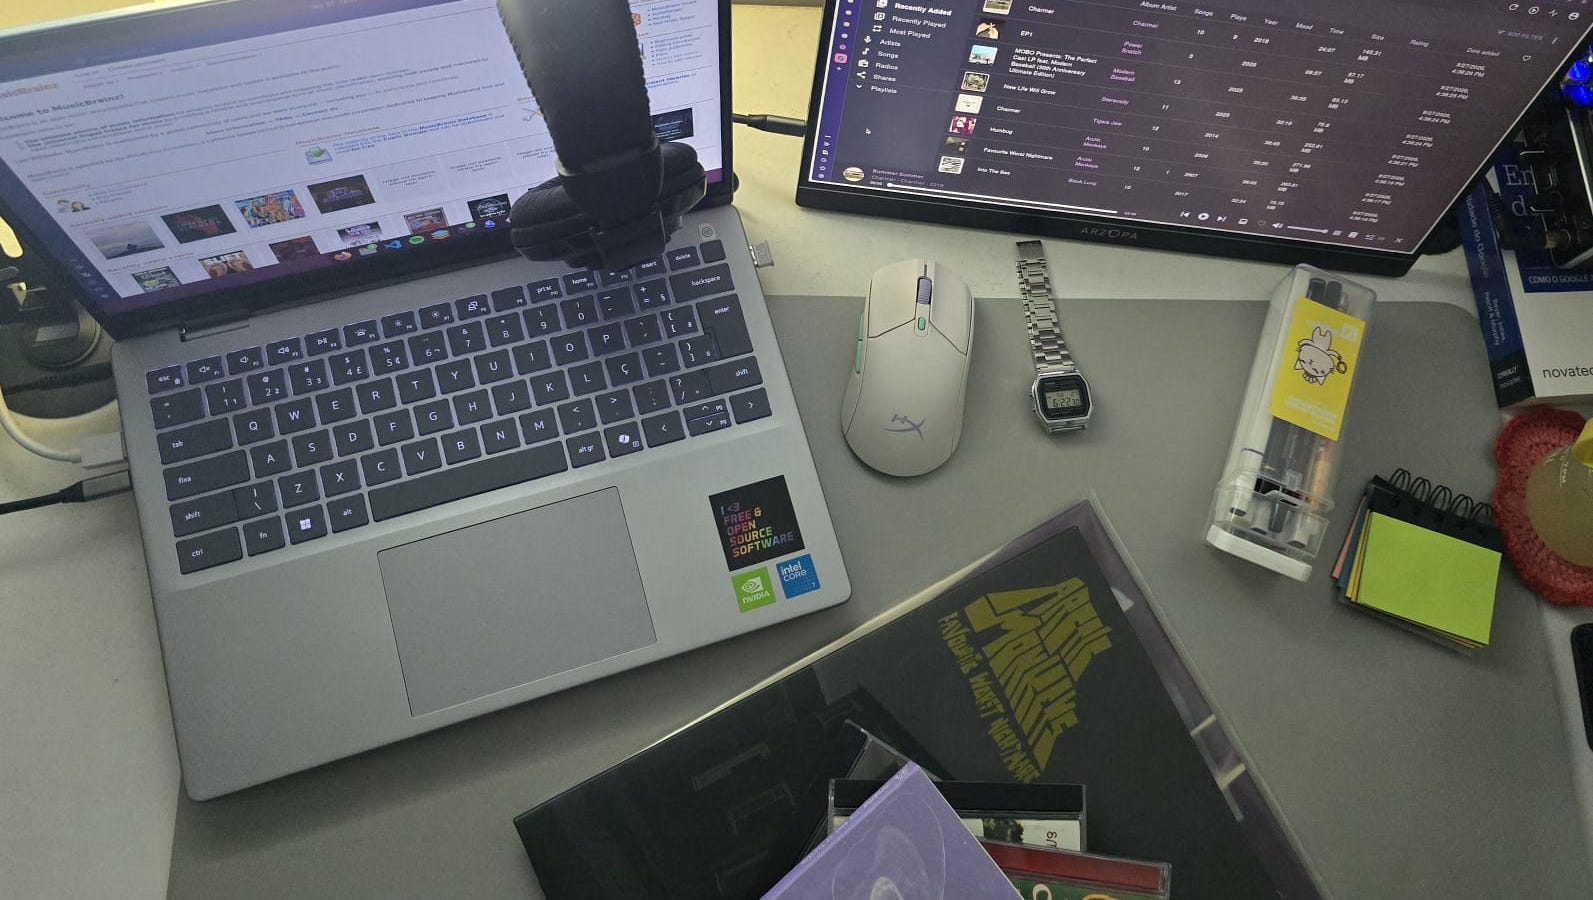
For a long time I’ve wanted to get my music out of folders scattered across my laptop and have something like Spotify, but mine. And I finally decided to make it happen.
The motivation, basically, is that the files are mine. Most of them come from download codes that came with physical media I bought, plus my own Bandcamp catalog, which often isn’t on any streaming service out there. The quality is FLAC (lossless) whenever possible, and no album ‘disappears’ from the library because of issues between the artists’ label and the streaming service (cough, cough, Spotify).
This way I have everything in one place, available offline at home (through the local address) and also over the internet, from my phone or computer, anywhere in the world.
In return, it takes a bit of effort to set up, which is actually kind of fun too, and that’s what I walk through here step by step.
Why Navidrome?
Well, Navidrome is an open source project that only deals with music. And that alone was enough for me. It’s its main focus, and it’s always well maintained (you can follow the releases here: https://github.com/navidrome/navidrome/releases/). It’s a single Go binary that runs very comfortably containerized on a small VM and reads the tags from your files.
It also helped that it has a nice web UI with customizable colors and native Last.fm scrobbling.
The infrastructure
At home I have Proxmox running on a node called hyrule. Inside it I made a VM with Debian 13, and inside that VM I set up Navidrome using Docker. I chose Docker because it’s easy, and also because the same VM will host other self-hosted projects in the future.
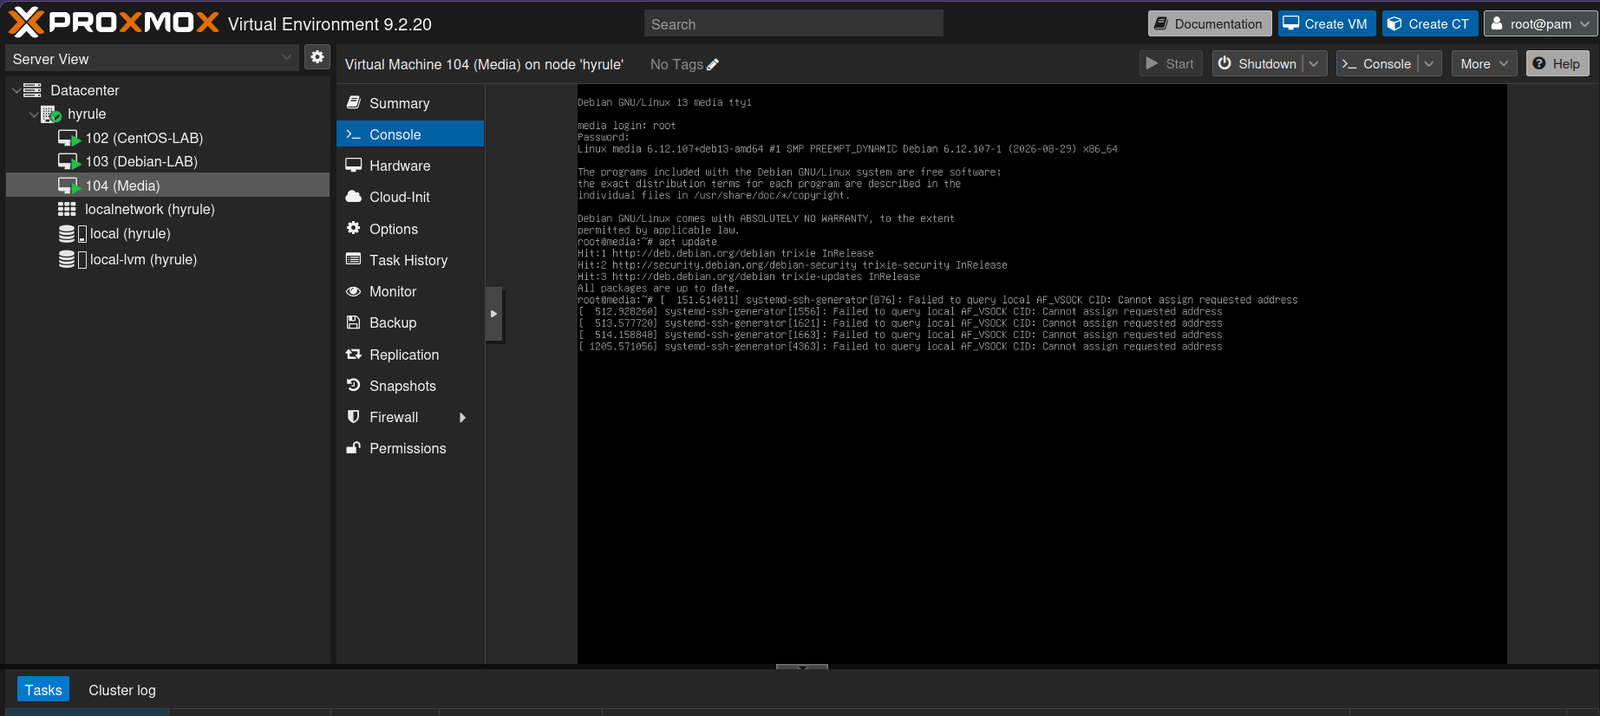
I kept /home on a separate volume, since that’s where the library lives, and it can (and should) grow without filling up the system disk.
Deploying Navidrome
Navidrome needs very little. A writable folder for the database and cache, which is /data inside the container, and the music folder at /music, which can be read-only.
I also set a SCANSCHEDULE of 1h, but you can trigger a scan right away from the web UI after logging in.
The docker-compose.yml ended up like this:
services:
  navidrome:
    image: deluan/navidrome:latest
    user: 1000:1000
    ports:
      - "4533:4533"
    restart: unless-stopped
    environment:
      ND_LOGLEVEL: info
      ND_SCANSCHEDULE: 1h
    volumes:
      - "/opt/navidrome/data:/data"
      - "/home/giovanna/music:/music:ro"
(the data folder has to belong to the same UID as the container’s user:, otherwise it can’t write the database)
sudo mkdir -p /opt/navidrome/data
sudo chown 1000:1000 /opt/navidrome/data
cd /opt/navidrome && sudo docker compose up -d
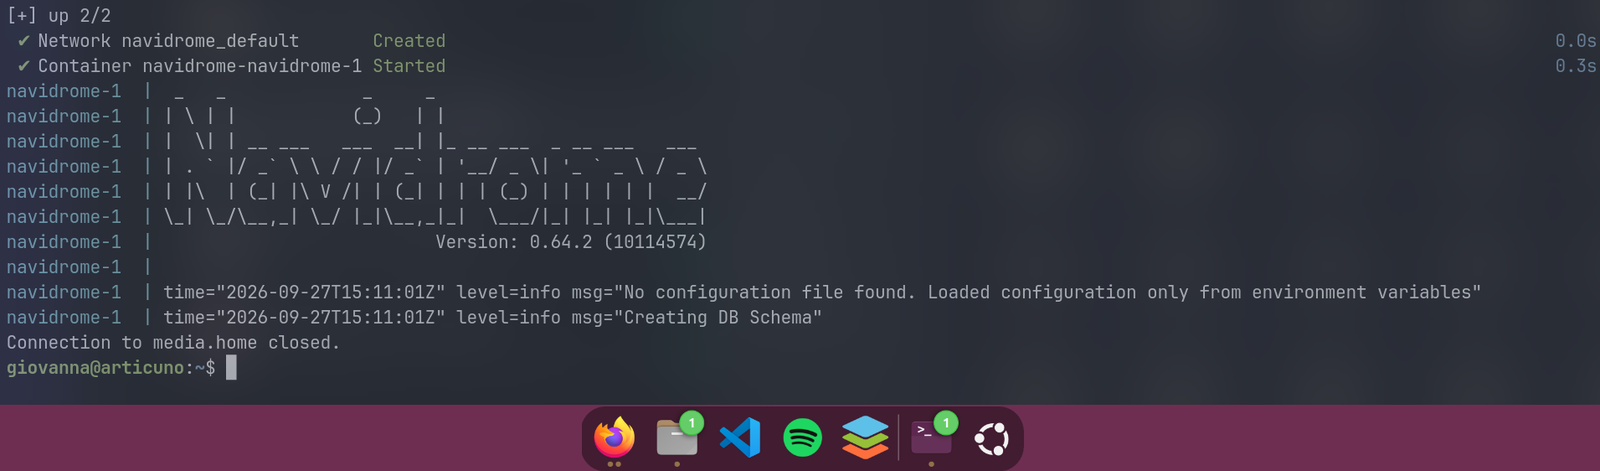

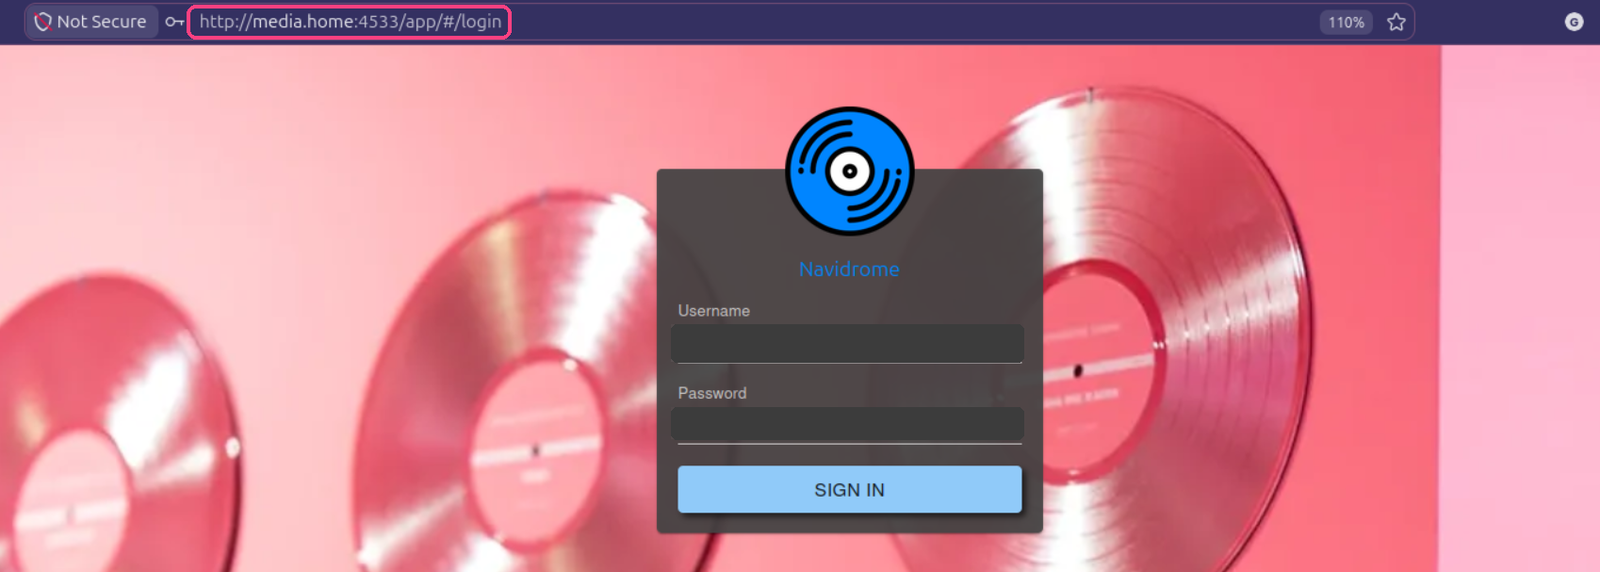
Once the container is up, just open http://media.home:4533 and create the admin credentials. After that, this is the screen you log in from:
Organizing the library
Worth knowing - Navidrome builds the library from the files’ tags, not from folder names. So the cleanup started with the tags, which takes a bit of manual work if you, like me, care about a tidy library with Artist, Year, Cover, everything just right.
For that you can either use Python with the mutagen library, which edits tags in MP3, FLAC and other formats, or a tool like Puddletag.
Artist/Album (Year)/NN - Title.ext
Artist/Album (Year)/D-NN - Title.ext   (multi-disc albums)
Artist/Album (Year)/cover.jpg
To send everything to the server I used tar over ssh.
cd organized && tar cf - . | ssh media.home 'tar xf - -C ~/music'
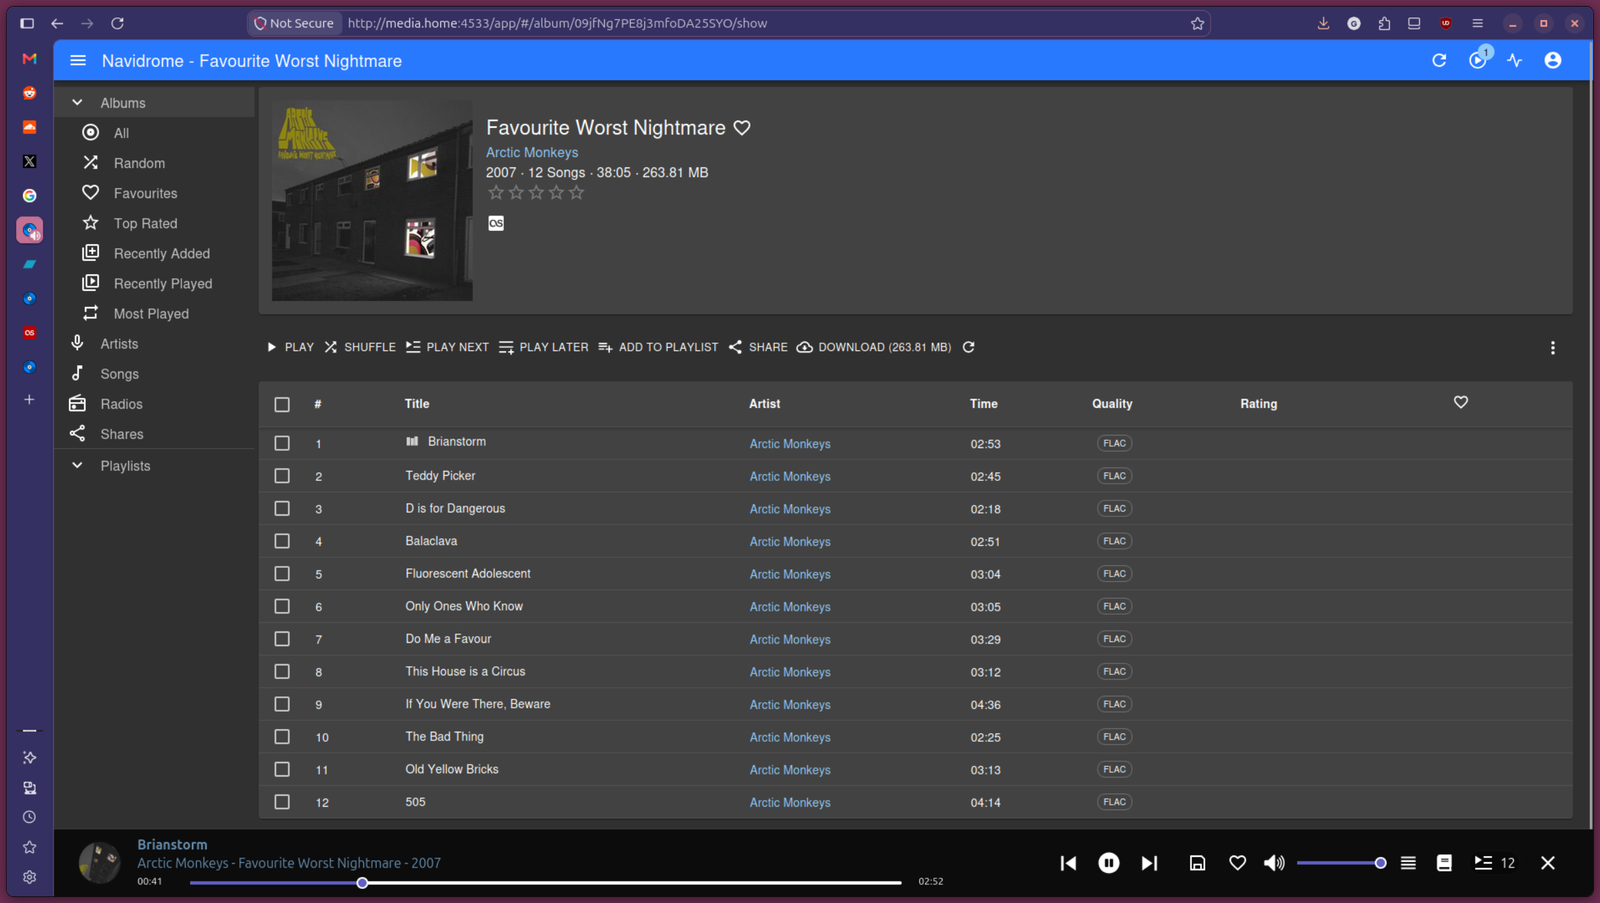
Streaming already working:
Last.fm Setup
I’ve used Last for years and didn’t want to stop scrobbling while listening to this library.
Navidrome supports connecting to Last.fm through an API account, which you can create very easily from your profile on the platform.
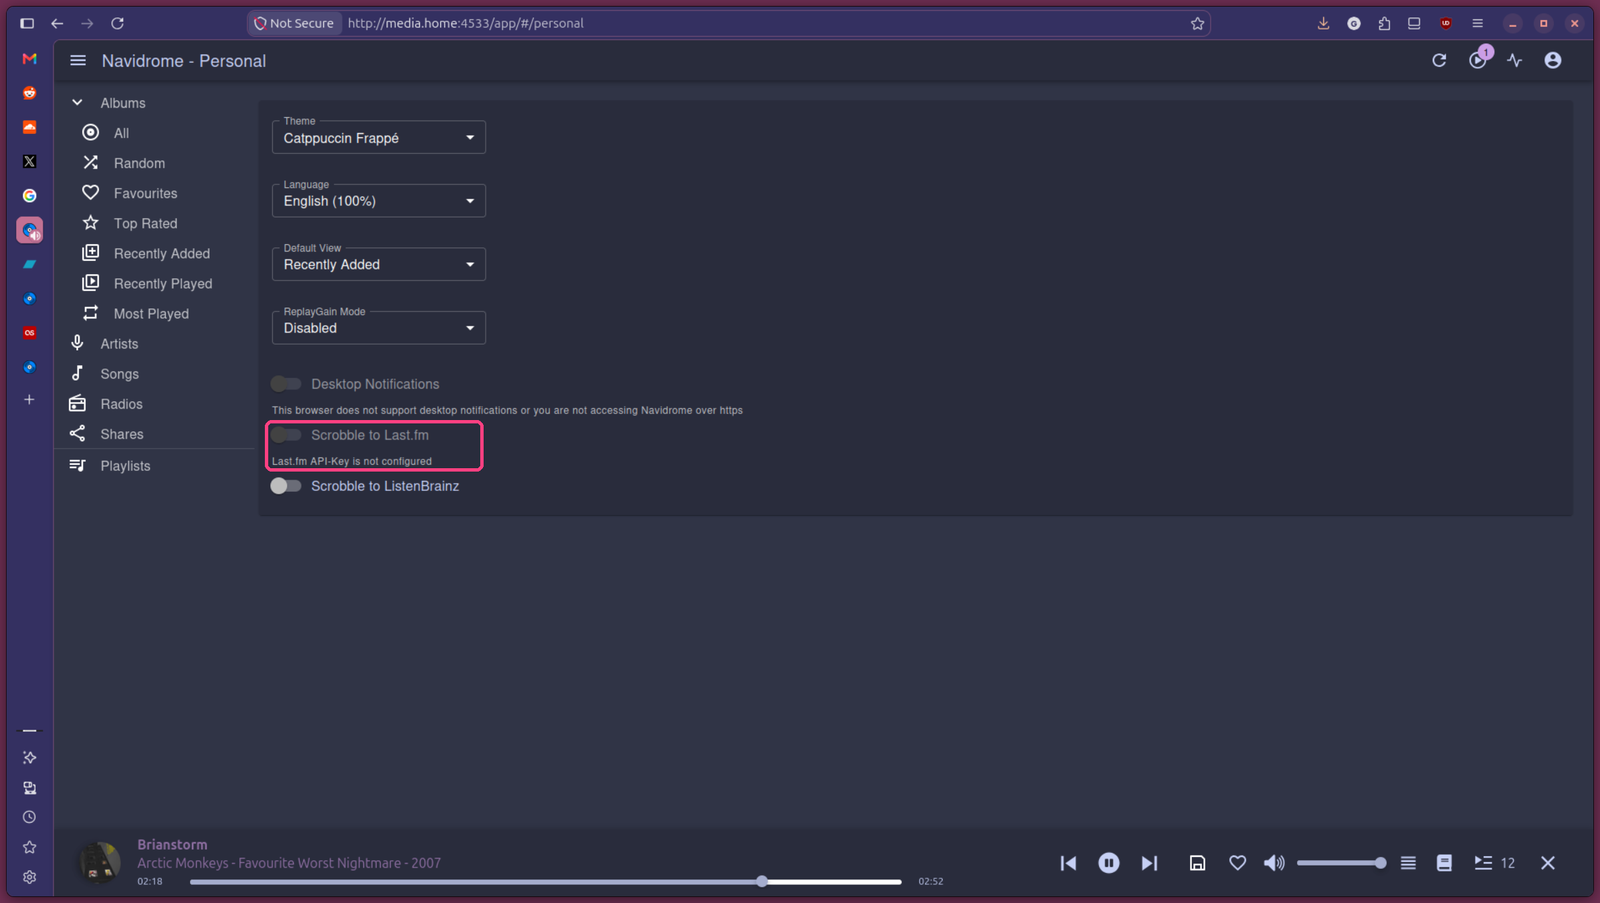
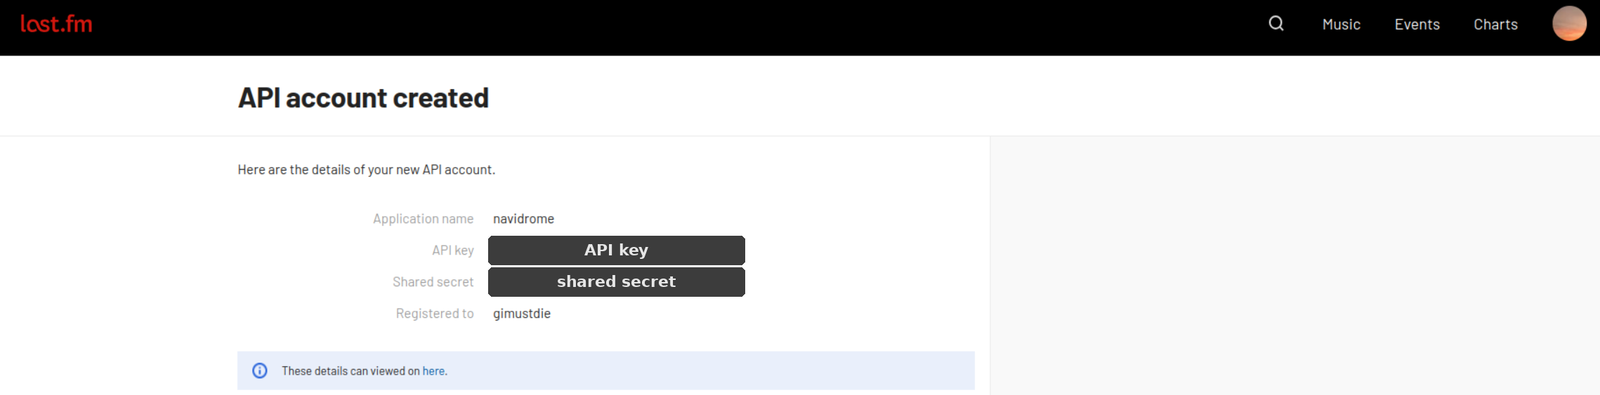
After enabling it on my profile, I used a .env with the API credentials so they wouldn’t be sitting in the compose file:
# /opt/navidrome/.env  (chmod 600)
ND_LASTFM_APIKEY=
ND_LASTFM_SECRET=
In Navidrome’s compose file, you just enable Last.fm and point to the file with the keys.
    environment:
      ND_LASTFM_ENABLED: "true"
    env_file:
      - .env
After restarting the container, just go back to Personal, switch on Scrobble to Last.fm and authorize Navidrome in the little Last.fm window. That setting is then enabled on my Navidrome account and linked to my Last.fm.
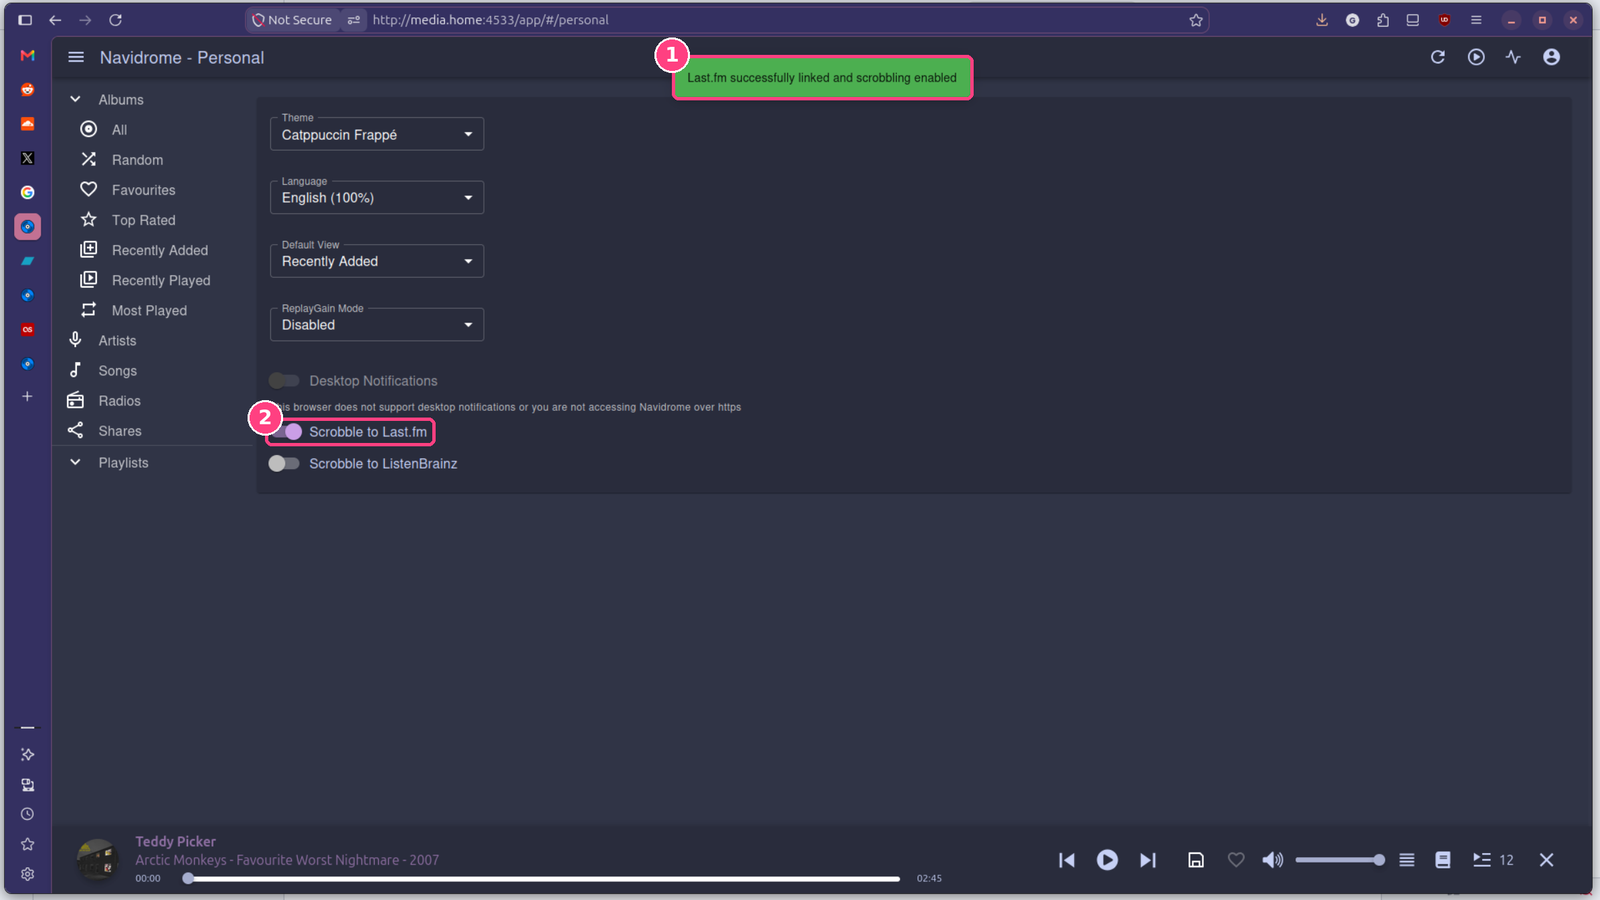
(1) Last.fm linked and (2) scrobbling enabled.
Then I just checked, from Navidrome’s web player, the real-time scrobble on my Last.fm:
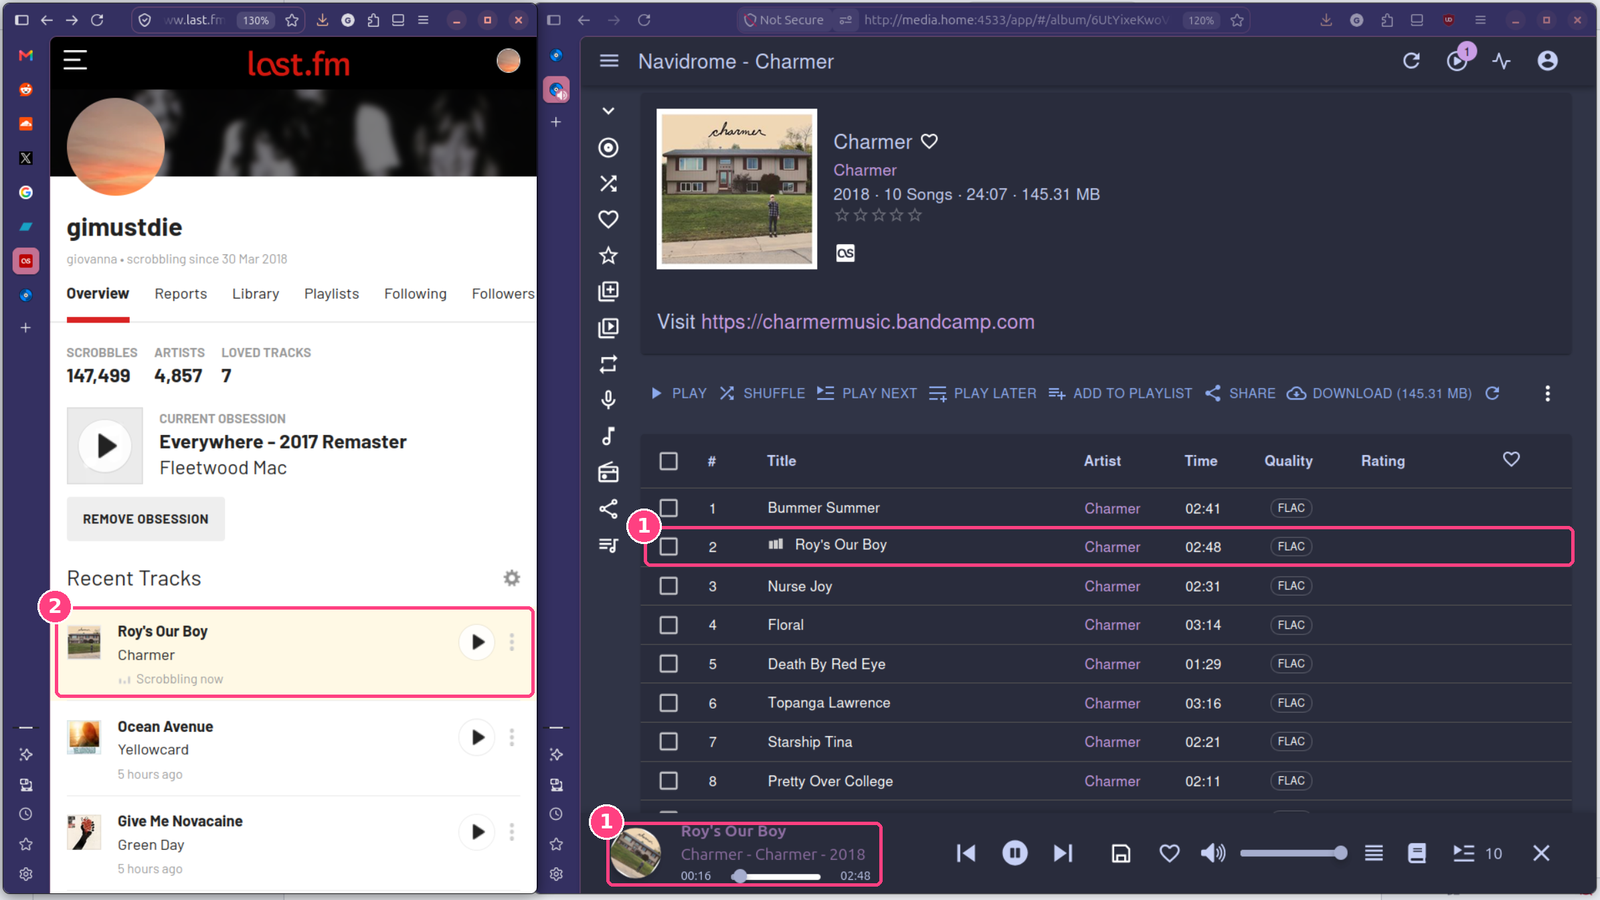
(1) Playing in Navidrome and (2) showing up on Last.fm as “Scrobbling now”.
Remote access
I wanted to listen to my music over the internet too, but I’m behind NAT. The solution was combining Tailscale with a domain I already had on Cloudflare.
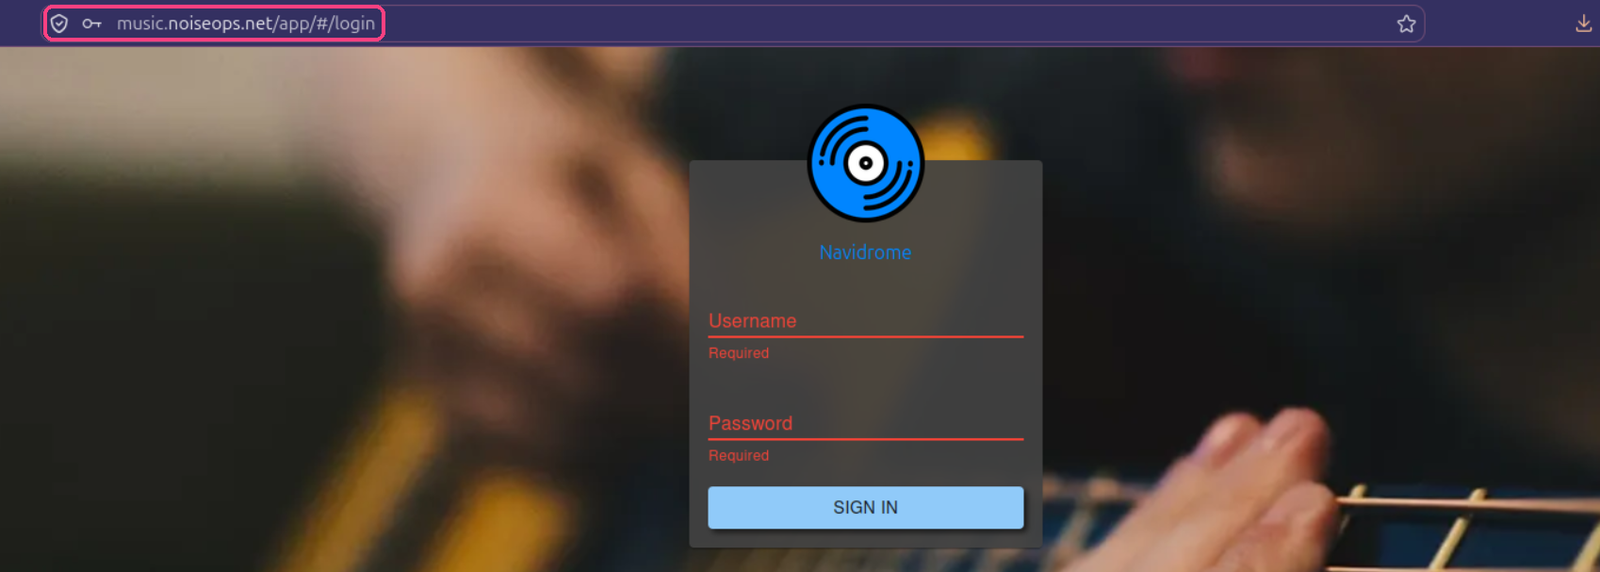
Today Navidrome answers at https://music.noiseops.net with a valid certificate, but only for my devices registered on Tailscale. :)
Below is a drawing to explain this part better:
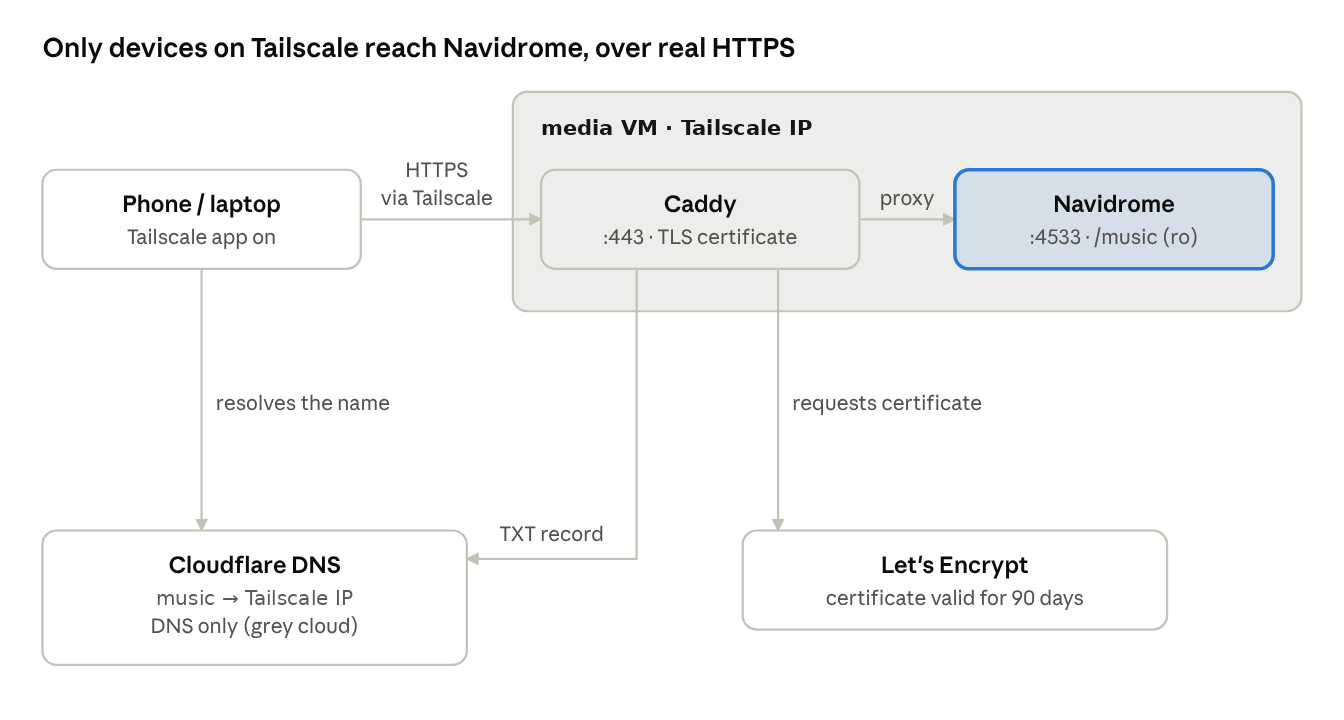
The trick is that the name points to the server’s Tailscale IP, an address that only exists inside my tailnet. To get a certificate without exposing anything, Caddy proves to Let’s Encrypt that I own the domain by creating a TXT record through the Cloudflare API. That’s the DNS-01 challenge, and it doesn’t need any traffic coming in from the internet.
Tailscale on the VM
Installing it is a single command, and tailscale up prints a link to approve the machine in your account.
curl -fsSL https://tailscale.com/install.sh | sh
sudo tailscale up
Cloudflare
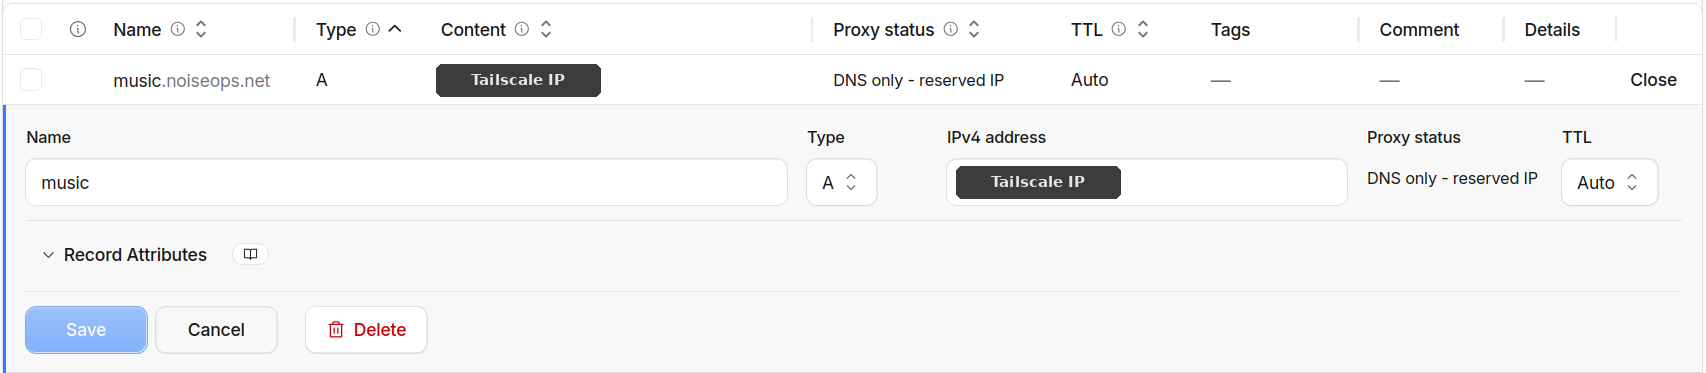
In the Cloudflare dashboard I created an API token from the Edit zone DNS template, allowed only for my domain’s zone, noiseops.net. Then I added an A record called music pointing to the server’s Tailscale IP, set to DNS only.
Caddy
Caddy went into the same compose file as Navidrome. The official image doesn’t ship the Cloudflare module, so I needed a tiny Dockerfile that builds Caddy with it using xcaddy.
# caddy/Dockerfile
FROM caddy:2-builder AS builder
RUN xcaddy build --with github.com/caddy-dns/cloudflare

FROM caddy:2
COPY --from=builder /usr/bin/caddy /usr/bin/caddy
The whole Caddyfile is just eight lines.
music.noiseops.net {
	tls {
		dns cloudflare {env.CF_API_TOKEN}
		resolvers 1.1.1.1
	}
	encode zstd gzip
	reverse_proxy navidrome:4533
}
And this is the new service in the compose file.
  caddy:
    build: ./caddy
    restart: unless-stopped
    ports:
      - "80:80"
      - "443:443"
      - "443:443/udp"
    env_file:
      - .caddy.env # CF_API_TOKEN, chmod 600
    volumes:
      - "./Caddyfile:/etc/caddy/Caddyfile:ro"
      - "./caddy/data:/data"
      - "./caddy/config:/config"
    depends_on:
      - navidrome
The Cloudflare token lives in a .caddy.env file, separate from the Last.fm .env, so each container only gets what it needs. Caddy renews the certificate by itself.
Wrapping up
In the end, the part that took the most work wasn’t Docker or the proxy, but organizing the tags on every single song, so I could sleep in peace.
It’s really worth spending that time before uploading your music, because that’s what defines whether the library will look organized or not. The rest is two config files, a few terminal commands and a looot of documentation.
Since Caddy is already running, adding another service to the same server is now easier too. Just start the container, add another block to the Caddyfile and another record on Cloudflare. Next in line will probably be a book library, or maybe a photo server. :D